I’m writing this post to help the wonderful people in the vegan meringue Facebook group. All of my experience with making vegan macarons has been with the recipes created by Charis at Floral Frosting. If you need anymore help or information about making macarons, she posted a great video here. I’m going to attempt to outline my method, which varies a bit from Charis’s and then give a few pointers on how to avoid some common problems. This is not meant to be a complete guide to vegan macarons, just my experiences!! Also, remember no matter how they turn out, they’re still delicious!
Steps:
1. Reduce aquafaba from 3/4 cup to 1/3 cup over medium heat on the stove. I use homemade aquafaba and I usually refrigerate the 1/3 cup overnight in a plastic container, then use it in the morning.

This isn’t necessary, as aquafaba can be whipped hot, but any sediment in the aquafaba settles and sticks to the plastic and I’m left with pure aquafaba the consistency of egg whites.


2. Sift together 1 and 1/4 cup almond meal and 1/2 cup powdered sugar in a large bowl. Try to scoop and level your cups, don’t pack anything down.
Edit: I now weigh out 125 grams almond meal and 65 grams powdered sugar. I’ve tried increasing the amount of powdered sugar with disastrous results. Grind any large bits that don’t sift in a spice grinder or food processor, then sift into bowl. Discard any large bits that don’t sift.
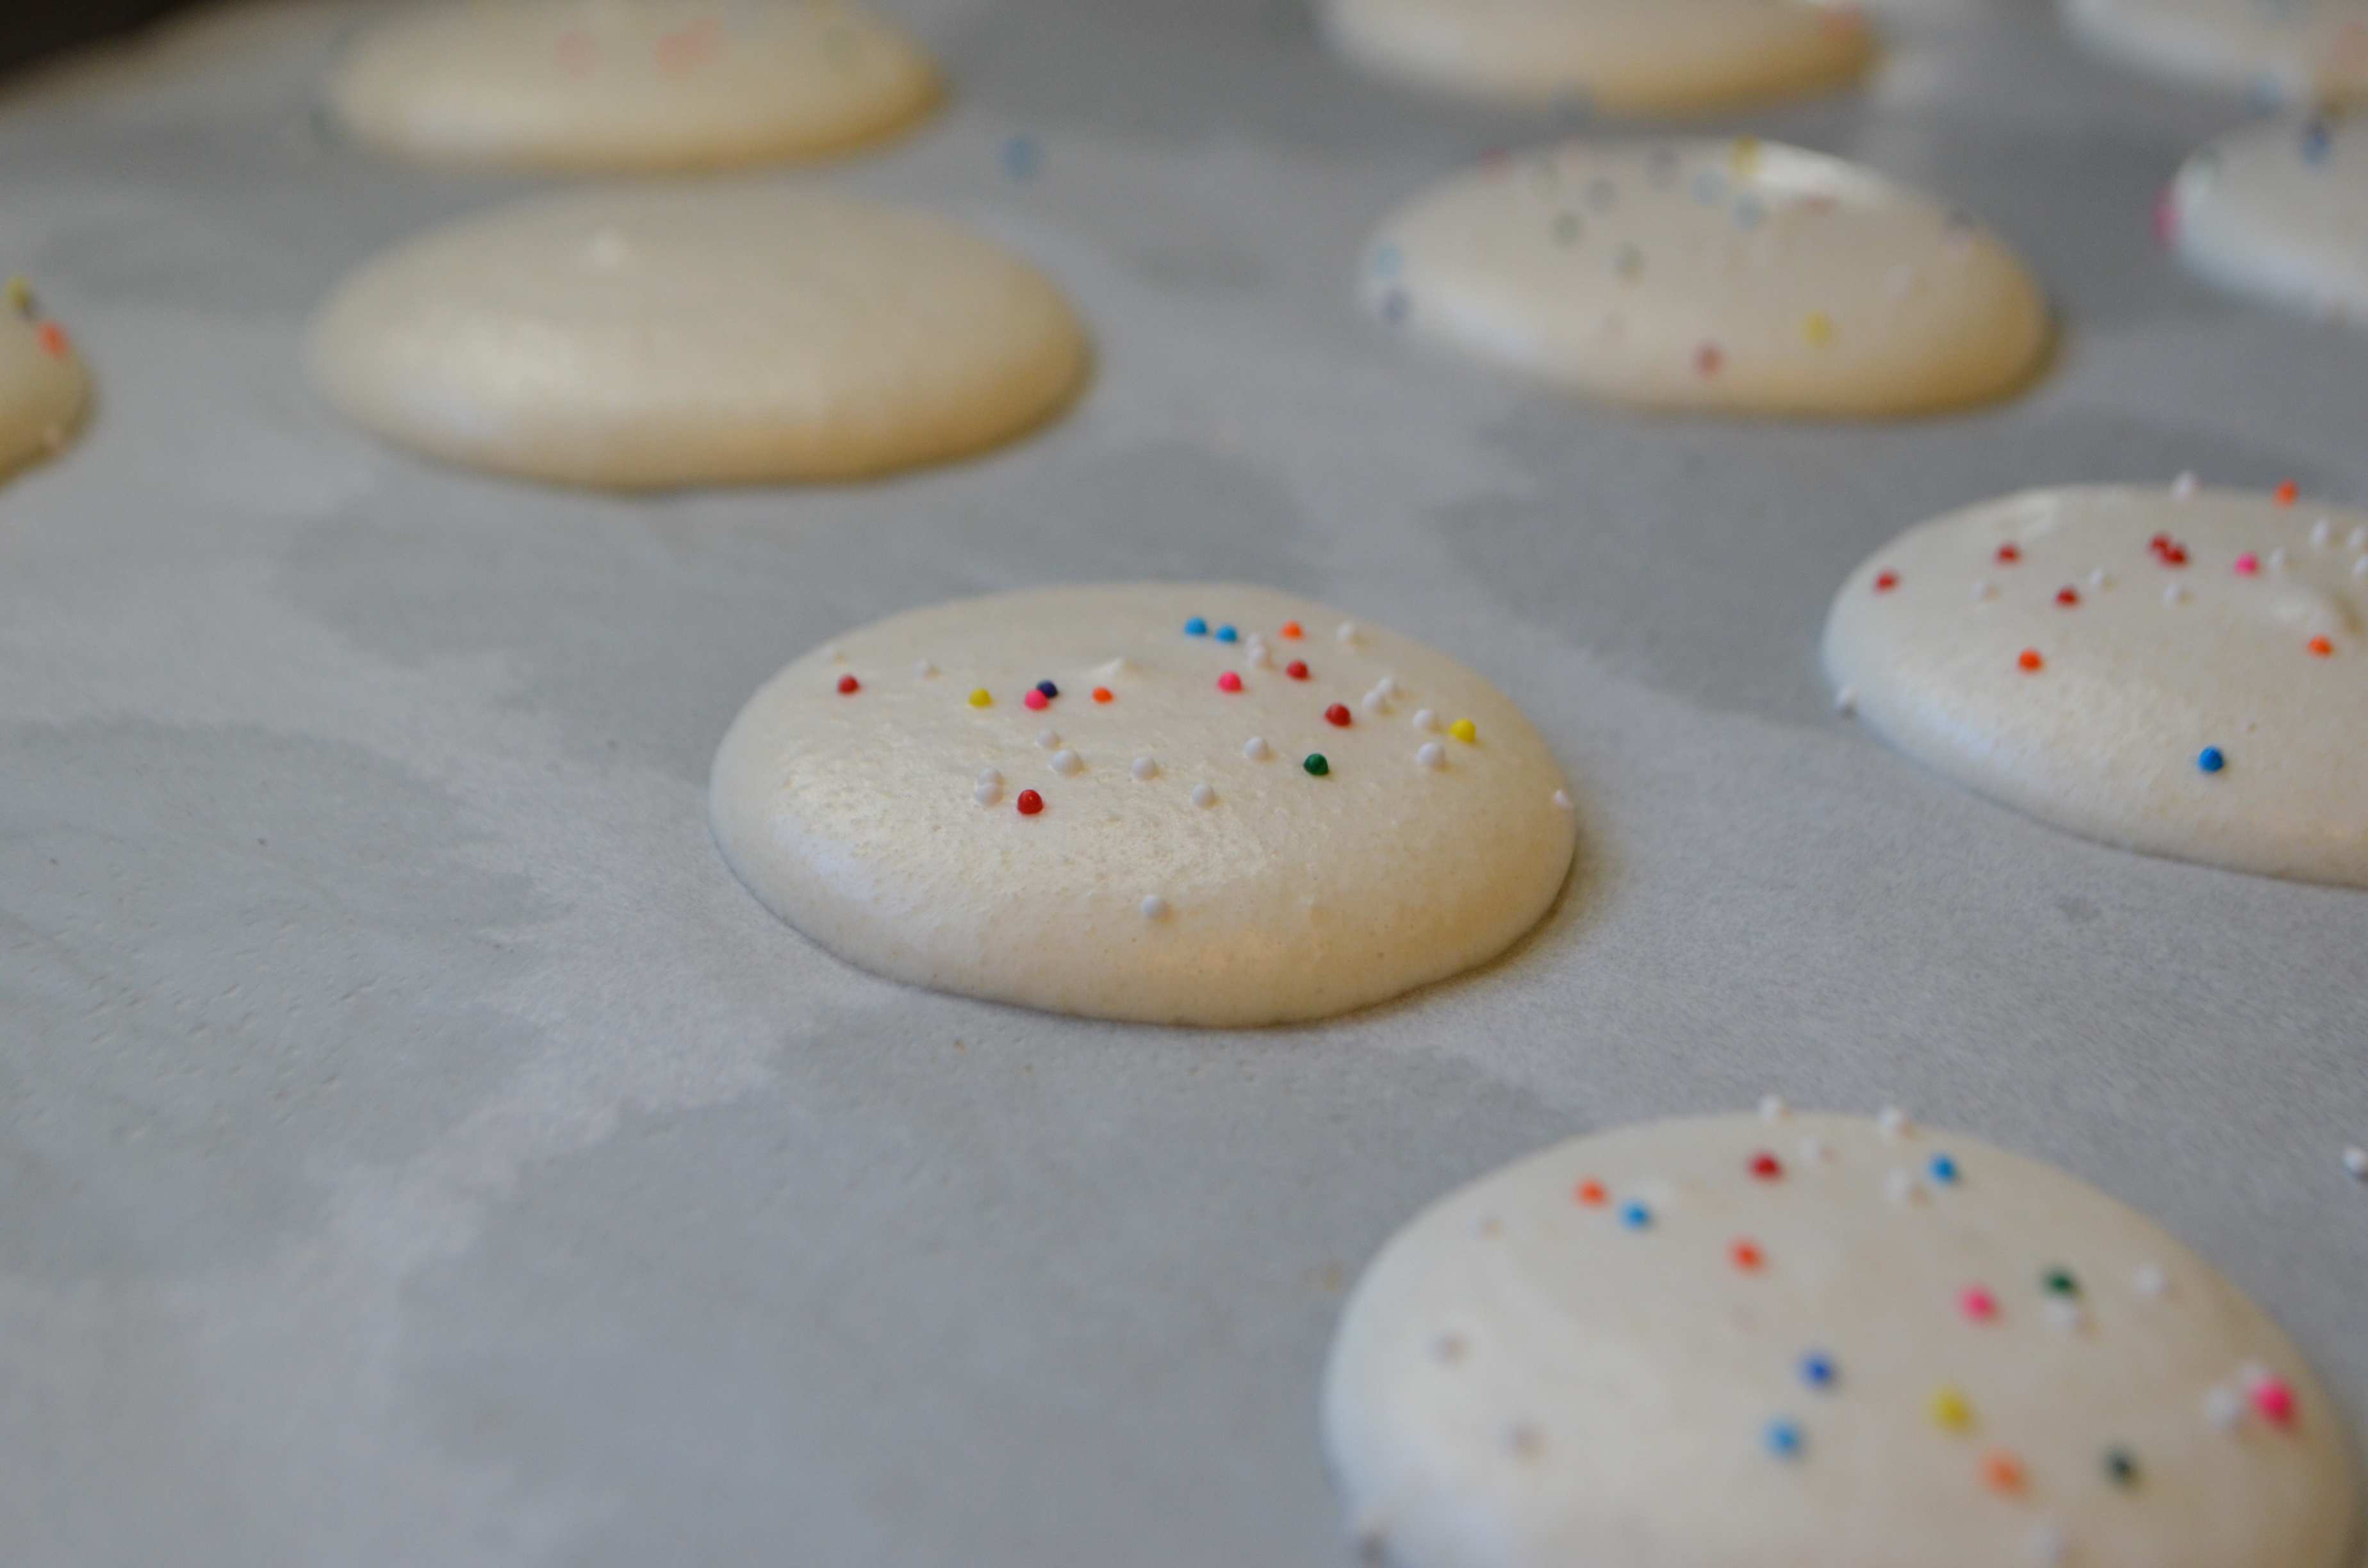
3. Line a baking tray with parchment paper and draw circles about 1.5 inches in diameter on the underside of the paper. (Also not necessary, but it helps keep size consistent.)
4. Make sure your bowl and whisks for making meringue is completely clean. If you have a stand mixer, use a balloon whisk. I use a hand mixer with beaters, and it works fine. Start whipping aquafaba until soft peaks form. Add a few drops of lemon juice or vinegar and beat until fluffy.
It should be stiff enough that it doesn’t move if you tilt the bowl at all.

5. Start adding sugar one tablespoon at a time. I beat for at least thirty seconds after every tablespoon to make sure it’s completely blended in. I use 7 tablespoons, because I had problems with my meringue collapsing with more.
Edit: I now add 8 tablespoons, but realized my half cup is actually 9 tablespoons. My meringue turns out stiffer when I add slowly rather than all at once. Continue whipping for another 5-10 minutes until meringue is very stiff and glossy peaks hold when you pull the beaters out. This is the time to add colors/flavors if you want them, but be light handed as the extra moisture can affect the batter.
It should stay inside the bowl without moving if you tip it upside down.


6. Sift in half of the almond/powdered sugar mixture. Use downward strokes to fold into meringue, and when it’s mostly incorporated, sift in the other half. Fold a few more times until mixed in.

7. Start macaronnage. I use my spatula to flatten batter against the side of the bowl and scoop up from underneath.

Check every few strokes by letting a piece of batter fall off the spatula onto the remaining batter. If it melds back into the batter within 20 seconds, you’re done. It should “ooze like lava.”

This can take as few as 10 strokes or as many as 25, depending on how much you originally folded the meringue. It’s safer to undermix the batter than over mix, as it will warm up from the heat of your hands in the piping bag.
Edit: I’ve had a few batches where my meringue was so stiff it took more than 35 strokes. The count really depends on how strongly you’re mixing and how much you originally folded.
8. Twist the end of a piping bag closed after attaching coupler and a large tip below (I use a Wilton 12. ) Pour batter in, and when you are ready to pipe, close the top of the bag and untwist.

Pipe directly down onto the baking sheet at a 90° angle and fill circles. I like to count to five as I do each one to try to be consistent in size.

Mine start with tips that start to settle after a few minutes.
10. Smack the baking tray on the counter a few times to loosen up any bubbles and help form feet.
If any tips are still poking up, use a moist finger to press them down.
Rest for 2 or more hours. I like to have a fan blowing on the tops. You will know the tops are done when they are dull and spring back when you touch them.
If chunks come off, let them dry longer.

11. Preheat oven to 210°F (100°C.) When it is preheated, bake on the top rack for 30 minutes (start at 20 minutes for smaller shells), then turn oven off and leave door closed for another 15-30. Open the door a crack to let them slowly come to room temperature.

Feet will usually form for me within about 10-15 minutes of baking.

Edit: I bought a new baking pan and have successfully baked for 20 minutes at 225°F then left the door shut for another 15 minutes with good results.

12. Let the trays cool completely. LET THEM COOL COMPLETELY. Seriously, stop touching them. When they are COMPLETELY cool gently peel the paper off the bottoms of the shells.
13. Top shells with filling of choice and match a similar sized shell to the top. Refrigerate for 24 hours to let the magic happen. They will absorb the moisture and be much better on the next day than they are immediately.

Common Problems:
• No Feet- this can be many things. Undermixed meringue, overmixed or undermixed batter, too much humidity, not a long enough bake time, not. Long enough rest time, or not big enough taps on the counter. They are formed by the moisture of the cookie escaping as steam out the bottom, so you want the shells to be nice and tough on the top to withstand the upward momentum of the steam.

• Uneven feet – your oven may not heat evenly or you tapped the tray unevenly. Or you have an old warped pan. I’ve found a three hour resting period helps with feet, especially on humid days.

• Insides are hollow- oven was too hot or batter was not mixed long enough to release most of the air. Or the batter was too thick and the inside sunk to the bottom while the tops puffed up. Egg based macarons have this happen sometimes as well.

• Insides are not cooked – increase cooking time by 5 minutes or try starting with a preheated oven. Could have possibly had too thick of a batter – reduce almond meal in the next batch.
• Insides are too crunchy – reduce cooking time by 5 minutes or give them 24 hours to absorb filling and soften slightly.
• Batter is too thick – too much almond meal (scoop and level, don’t pack) or your meringue was not stiff, but liquidy. Or you used cornstarch instead of powdered sugar. Don’t laugh, I did it.
• Batter is too thin- you overmixed during the macaronnage, or had too much meringue to begin with. There’s not really a fix, but try baking anyway, they will still taste good! This batch was a bit too thin, but worked out anyway.

• Shells crack on the top – oven was too hot or the meringue wasn’t stiff enough. Turn the heat down by 5° or get an oven thermometer.

• Insides spill out the top- the tops were still wet or you never tapped the tray to let the steam escape the bottom of the shell.

• Shells are porous or lumpy – shells needed to rest and dry for longer, steam escaped out the tops in small holes instead of out under the skin that forms during drying.

• Shells collapse – they were removed from the oven too quickly. Don’t do this!

• Insides stick to the paper- cook 5 minutes longer, try preheating, and WAIT for them to cool. Make sure you are using parchment paper and a gentle hand. Sometimes this still happens to my middle few macarons, but no one will notice once the filling is in them!
• My macarons don’t look like the photos! – it’s called staging.
Expectation:

Reality:

They still taste just as good, either way!
For more helpful tips and information, check out Let’s Go Bake A Cake or Morsels and Moonshine.
More macaron pictures:


Thank you so much for this troubleshooting guide! My first batch of macarons are in the oven, and there aren’t any feet. However, now I know what I can do differently next time. I’ll try preheating the oven this time (I used the cold oven method), and I’ll use parchment paper instead of my Silpat.
This is such a grand post! I have yet to afford almond four to test out macarons but everyone’s “misses” have made me incredibly nervous to waste precious resources for when I do get my paws on some – your guide is going to help a lot for when that day comes 😀
I was following the steps and everything was working perfectly until… i got to almond meal step and the batter became really thick almost like i didnt have enough fluff. How much fluff is the chick pea brine supposed to make? It wasnt very much for me.
You fluff should almost quadruple in size from the original amount (eyeballing I would guess around two full cups of fluff.) If it wasn’t fluffy enough, it would definitely seem very thick. You can still bake it as is for some nice almond cookies though!
I tried it again with double the aquafaba. I think not all aquafabas are made the same lol. I started with 325 ml (2 cans) and reduced to around 150ml. When I whipped it that gave me close to 2 cups of fluff. The texture of the batter seemed right and it was easy to pipe. I thoought i had let them dry completely but I guess no, didnt get the feet and still had a porous top. Will try with home made aquafaba next and extend drying time.
Hi! So, I have a problem with uneven feet and I suspect my oven’s heat distribution is to blame since I’ve tried everything else I can possibly think of! Do you have any tips how to win over a cruddy oven with uneven heat distribution? (I’ve already used double pans)
I wish I had more tips, as I have the same problem!! I’ve found I get the best feet when my oven is fully preheated (but not more than 215F) and by baking two pans at the same time on the top shelf. Larger shells seems to rise a little more evenly, and I try to space mine a little farther away from the edges of each pan. However, that is just my oven, so it may be completely different for yours!
Fabulous troubleshooting guide. I would like to submit that I also got porous shells from not reducing the aquafaba. I thought it was pretty good right out of the can due to the much lower volume that came out, about one third to one half a cup vs 3/4 which is what I often get. That batch made almost 3 trays so it makes sense that I made a meringue with a bit of almond in it. Now that I’ve reduced it I’ve had two successful batches. I had trouble getting my latest to dry thoroughly and found a tip if you preheat your oven to 320 c turn the oven off and open the door and let the drying macarons sit on the open door you can accelerate the process, you can rotate at the five minute mark. Mine were still a hair wet after a 4 hour rest so I dried them on the door and got a batch with no cracks or implosions.
Hi there!
I just had a quick question. I was wondering why you have to leave the macarons to rest for two hours before you bake them. Is this because of the aquafaba? I only ask because I know you’re not suppose to let egg meringues rest like that or they’ll deflate.
Meringues and macarons are different; the resting period for macarons is to set the shell so they will rise properly to have a smooth shell and a little foot underneath.